
Millions of people use the well-liked operating system Windows 10 worldwide. One of the key concerns of users is the security of their devices and personal data. Windows Defender is a built-in security tool in Windows 10 that provides protection against various types of malware, viruses, and other threats.
In this blog, we will discuss how to use Windows Defender to keep your device secure.
Windows 10 Security: Using Windows Defender
What is Windows Defender?
Windows Defender is a free anti-malware tool that comes with Windows 10 .It offers defence against malware such as viruses, spyware, and other threats. It is designed to detect and remove malicious software from your computer. Windows Defender is constantly updated to keep up with the latest threats, and it runs in the background, so it does not interfere with your work.
How to Use Windows Defender?
Windows Defender is enabled by default in Windows 10, so you do not need to install any additional software. However, you may want to check that it is working correctly and adjust its settings to suit your needs. The steps to utilize Windows Defender are as follows:
Open Windows Security
To access Windows Defender, you need to open Windows Security. In the search box that appears after clicking Start, type “Windows Security” to get started.

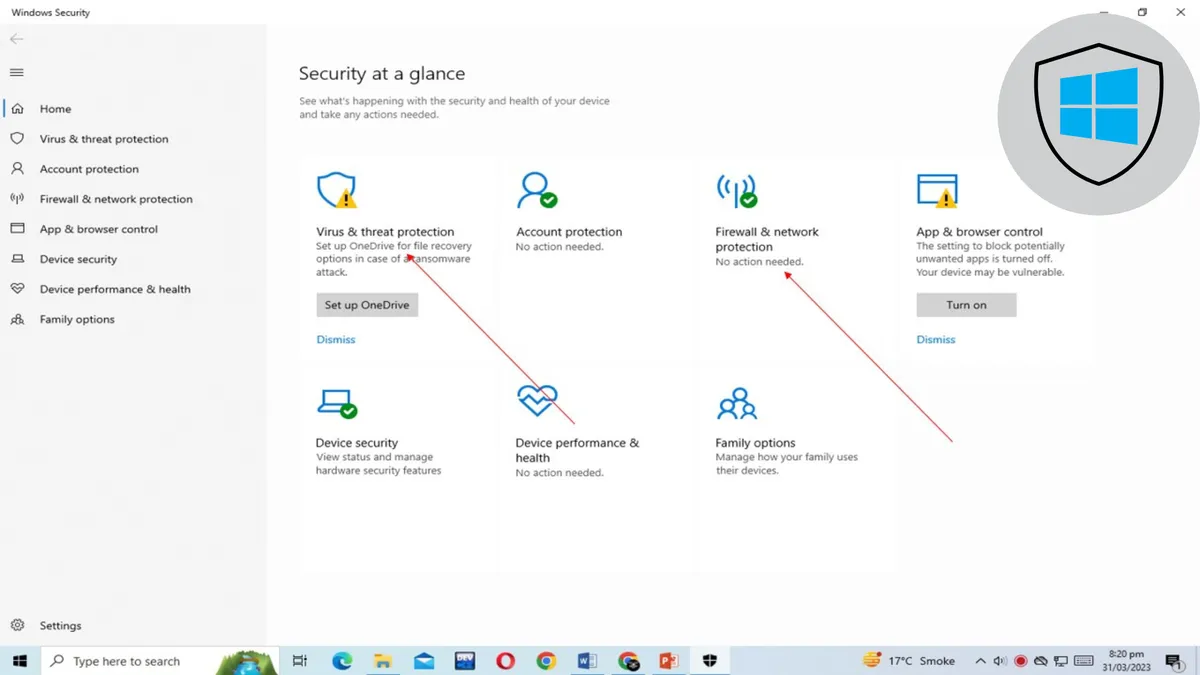
Check your device’s security status
Once you open Windows Security, you will see your device’s security status. If everything is working correctly, you will see a green tick next to each section. If there is an issue, Windows Security will notify you, and you can take action to resolve the problem.

Run a quick scan
Windows Defender automatically runs quick scans on your device regularly. However, you can also run a quick scan manually. To do this, click “Virus & threat protection” and then “Quick scan“. Windows Defender will scan your device for malware and other threats.

Customize Windows Defender settings
You can customize Windows Defender’s settings to suit your needs. To do this, click on “Virus & threat protection,” then click on “Manage settings.” Here, you can turn on or off real-time protection, cloud-delivered protection, and automatic sample submission. You can also choose what happens when Windows Defender detects a threat.


Check Windows Defender history
Windows Defender keeps a record of any threats it detects and how it dealt with them. To check your device’s history, click on “Virus & threat protection,” then click on “Protection history.” Here, you can see any threats that were detected, what action was taken, and when the threat was detected.


Conclusion
Windows Defender is an essential tool for keeping your device secure. It is easy to use, and it runs in the background, so you do not have to worry about it interfering with your work. By following the steps outlined in this blog, you can ensure that Windows Defender is working correctly and customize its settings to suit your needs. Remember to keep Windows Defender updated and run regular scans to stay protected from the latest threats.


